Talk To Our Boss If You Didn't Find The Solution
Our boss, Alanna will ask our team to find out the solution very soon! You must be satisfied with our services!


When a box fits like a tailored suit, everything works harder for you—materials, logistics, and the unboxing moment. Accurate measurement is the quiet science behind that fit. This article shows how to turn product analysis, standardized measuring, and error control into a practical, repeatable system that lowers waste, avoids rework, and protects brand experience—without chasing penny-pinching tactics that erode value.

Start by mapping what the product actually “does” to a box. Weight distribution, center of gravity, surface hardness, and fragility inform wall strength, insert design, and tolerance bands. Heavier or asymmetric items often pair better with braced structures like printed corrugated boxes or load-sharing inserts; smaller premium items favor tight-tolerance paper gift boxes with precise cavities. Document outlier features (e.g., protruding buttons, droppers, zippers) that demand local relief or chamfers so you don’t “measure flat for a 3D problem.”
Your dimensions must anticipate compression, vibration, and humidity swing from warehouse to doorstep. A display-ready carton may endure hand-stacking and retail handling, whereas DTC parcels meet conveyors and last-mile tosses. Align early with your route-to-market: e-commerce shippers usually benefit from mailer-style corrugate, while shelf units might rely on cardboard displays or tray-fit forms. Anticipate seasonal peaks (winter dryness, summer humidity) that subtly shift board caliper and fit.
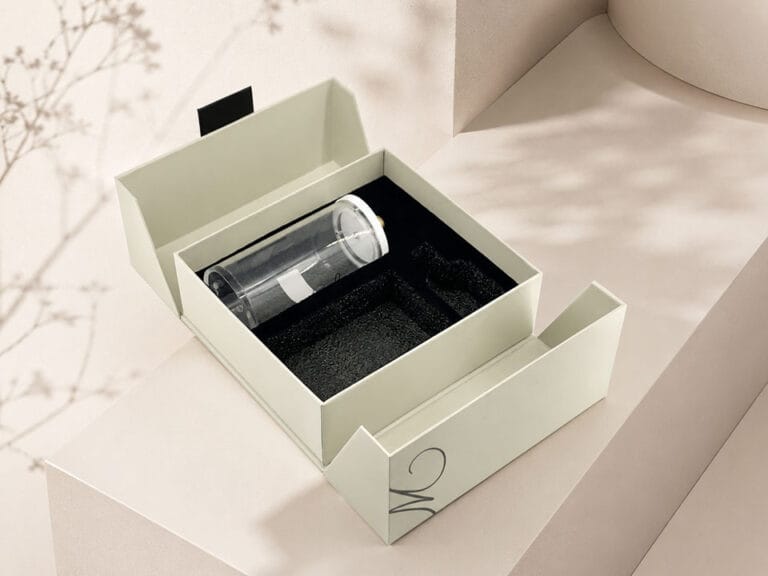
Right-size isn’t just physics; it’s theater. The lid lift, tray friction, and reveal speed all stem from tolerance choices. Fragrance, jewelry, and tech benefit from insert-led precision—see form factors similar to perfume boxes and jewelry boxes. For electronics, cable-routing and accessory wells in electronics boxes prevent rattle without overpadding. Measurement, here, becomes the dial that tunes delight while quietly trimming excess void fill.

Move beyond a tape measure. Use a steel rule for edges, calipers for board caliper and insert thickness, and angle gauges for chamfered walls. Depth probes align cavity height with product tolerances; radius templates verify corner fit on rigid sets. For print-driven dimensions, pair dielines with proof rulers and a light table to check panel creep before plates go live. If you plan matte or gloss finishes later, log film thickness so your net internal space stays consistent across SKUs—helpful for families spanning folding cartons and rigid sets.
Codify one SOP: measure internal length × width × height at three points; average, then round to your factory’s cutting tolerance. Record board grade, flute, and grain direction together with cavity and insert specs so future reorders don’t drift. Create a checklist that ties measuring to actual deliverables—box shell, insert, sleeve, and any printed collateral (thank-you cards, leaflets via printing services). Consistency across teams reduces remake risk more than any single “hack.”
Hexagons, tubes, and clamshells defy simple L×W×H. For cylinders (e.g., paper tube packaging), measure internal diameter at multiple clock points and log ovality; for shoulder-neck rigid sets, measure neck step and shoulder land separately, then validate lid friction with liner in place. For drawer boxes, capture tray rail thickness, sleeve clearance, and pull resistance—tiny deltas matter when upgrading to soft-touch films or textured stocks.

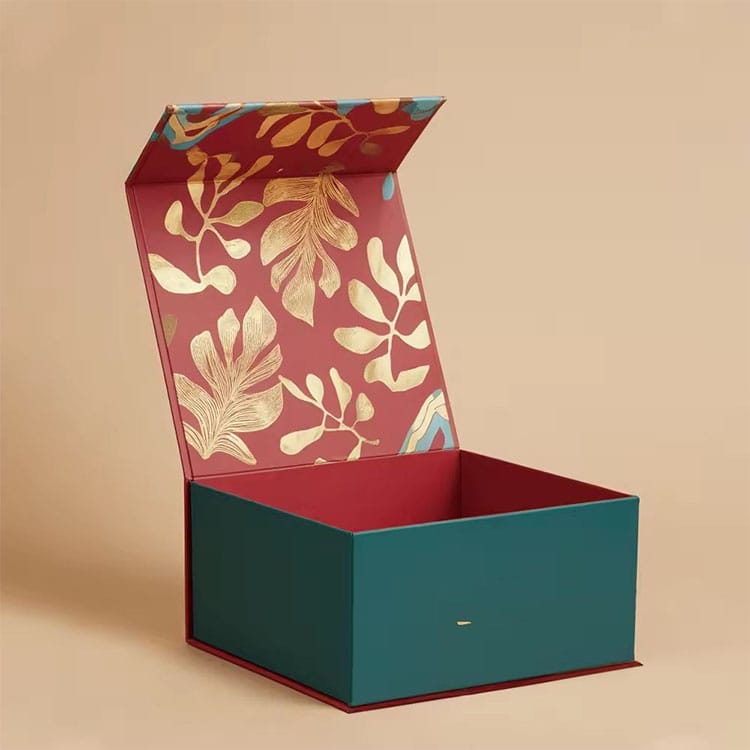
Boards swell or relax through printing, lamination, and drying. Build pre-comp factors by stock: coated art paper behaves differently than uncoated kraft, and soft-touch or gloss laminate adds tiny—but real—caliper. If you migrate a SKU from rigid to collapsible gift boxes, add extra attention to hinge scores to preserve internal volume after repeated folds.
Convert measurement into a digital twin: dieline in CAD, quick 3D mockup, and a flat-to-fold animation. Feed real caliper data and expected finish stack-ups to simulate friction and lid lift. For shippable goods, add a virtual ship test scenario before you commit to pilot runs. Keep the digital and physical in sync by scanning first articles and overlaying them on the CAD to spot drift early.
Close the loop with structured feedback: warehouse fit notes, damage rates, and unboxing reviews. If returns spike for “too tight,” check post-lamination caliper or humidity at fulfillment. If “too loose,” revisit insert compression set or flute selection on the outer mailer (a right-sized products hub view can help teams pick consistent families). Establish thresholds that trigger a redraw instead of incremental padding. For new briefs, capture learnings into a template so future projects start smarter—then route finalized specs to your team or directly to Need a Quote for controlled rollout.

Precise measurement isn’t about squeezing numbers; it’s about aligning physics with brand experience. Break the problem down: analyze the product and environment, standardize tools and SOPs, and engineer error out with pre-comp, digital twins, and feedback. The payoff is a package that feels crafted—because it is—and a system that quietly reduces waste, remakes, and inefficiency across your portfolio. If you’re scaling SKUs across categories, anchor specs to proven families like paper gift boxes, folding cartons, printed corrugated boxes, and display units—then keep everything discoverable from your homepage.