Our boss, Alanna will ask our team to find out the solution very soon! You must be satisfied with our services!
7x24 Support
Share your project details and our team will respond in about 20 minutes with a clear quotation and practical suggestions. We can help you refine structure and artwork, arrange white or printed samples, optimize costs, and plan shipping to your warehouse or fulfillment center.
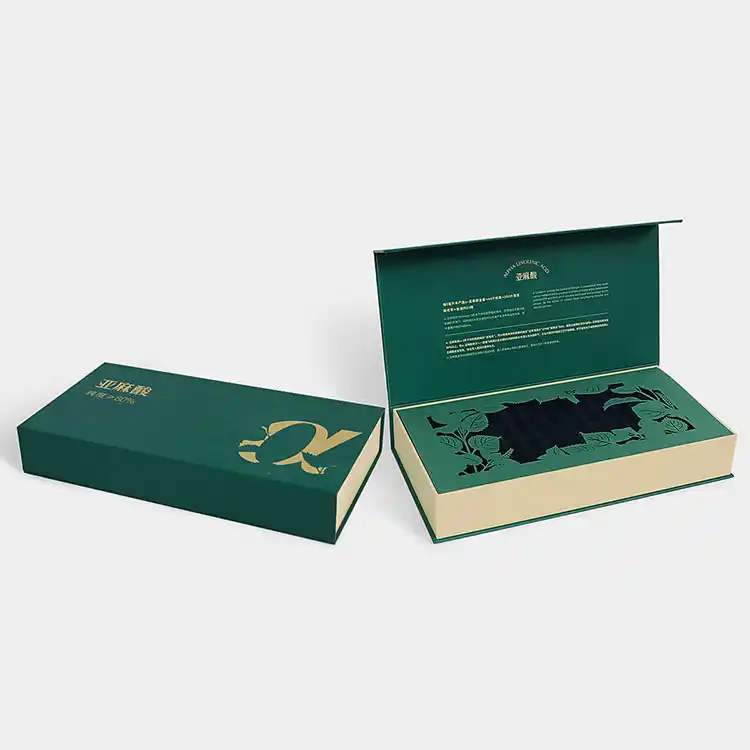
How can secondary packaging of nutritional supplements improve brand competitiveness and consumer trust
When a packaging box blisters, it “speaks”—telling you something went wrong with fiber, film, glue, heat, or handling. Below is a practical, lab-meets-factory guide to decode those signals and fix them before they touch a shelf or shipper.
1. Moisture imbalance in board and inks
How blisters appear Raised bubbles after lamination or varnish; panels that pucker near creases; localized fish-eyes over heavy solids.
Why it happens Paperboard is hygroscopic. If board MC (moisture content) is higher than the pressroom setpoint—or inks/trapping layers haven’t fully dried—entrapped water vapor expands under heat and pressure, lifting coatings or films.
Prevention playbook
Condition board 24–48 hours to pressroom RH/temperature; rotate skids to equalize edges/cores.
Verify ink/aqueous coat dryness with solvent rub and tape tests before downstream work.
How blisters appear Soft, spongy pillows between film and board; bubbles that grow hours after lamination; edges lift under light thumb pressure.
Why it happens Adhesive solids too low, coat weight uneven, or cure incomplete—especially with high-hold films, dense inks, or coated boards. Residual solvents or plasticizers migrate and create voids.
Prevention playbook
Match adhesive to substrate energy and coating type (aqueous, UV, PE-coated).
Control coat weight with anilox/slot-die targets; map cross-web uniformity every shift.
Extend curing and keep stacks ventilated; avoid hot-stacking.
For glossy film looks that resist pillow-blistering, use purpose-built builds like a glossy-laminated magnetic box and document the adhesive window on the spec.
3. Lamination window: heat, pressure, and speed mismatch
How blisters appear Linear blister bands following web direction; large bubbles over heavy coverage; smooth film with subsurface undulations.
Why it happens Excess nip heat flashes residual moisture; too little pressure fails to wet out the adhesive; too much speed reduces dwell time so the bond never forms uniformly.
Prevention playbook
Establish a process window: ramp temperature/pressure/speed and record peel/shear vs. blister incidence.
Use staggered nip settings for heavy-ink panels; pre-lam knockdown passes can help.
Choose finishing routes that accommodate your art and substrate—for example, spot-UV over lam can pop if the base isn’t stable. Validate with structures proven for that stack like folding magnetic gift boxes with spot UV.
How blisters appear Isolated bubbles in otherwise perfect fields; adhesion failure around fingerprints; rejection near die-cut edges.
Why it happens Low surface energy (LSE) from release agents, silicone transfer, or oily handling thwarts wet-out. Dust and paper lint trap micro-pockets that become blisters under heat.
Prevention playbook
Measure dyne levels on incoming films/boards; specify minimum surface energy and cleanliness in POs.
Add tack-cloth or ionized air at feeder; isolate die-cutting dust with vacuum extraction.
Train handling with gloves on premium builds (rigids, magnets). See stable platforms like a rigid lid-and-base gift box with insert when displays or EVA trays are involved.
Keep work-in-process covered; add QA holds after any silicone-lined step.
5. Structural stress, trapped air, and storage conditions
How blisters appear Bubbles along fold lines, panel transitions, or where inserts apply point loads; blisters that worsen after warehousing or the final mile.
Why it happens Tight wraps, high board memory, or trapped air at closures expand with temperature swings. Inserts or closures push against panels, stressing the lamination interface.
Prevention playbook
Venting: design minute reliefs or micro-perfs where air collects (under wraps, at overlap seams).
Score and fold with correct bead height; avoid overstressing grain-against-fold on thick boards.
Validate with environmental cycling (hot/cold/humidity) in transit-ready outers; DTC formats like reinforced mailers minimize warehouse-to-door swings: double-wall corrugated mailer.
For instructions and inserts—often culprits—opt for slim, dry stock and consistent placement. Print reliability matters: user manual printing.
On-press and finishing checklist
Board MC within spec; pressroom RH/°C logged; inks/aq coats fully dry.
Adhesive type/coat weight confirmed; cure/dwell time achieved.
Lamination window (T/P/speed) recorded; peel/shear test passes.
Dust control active; gloved handling for premium builds.
Structural vents/reliefs present; environmental cycle test approved.
Outbound shipper appropriate to route and season.
When to change the structure
If blisters persist after process control, switch the stack:
Move from film-on-ink to film-on-coat (or vice versa) and retune adhesive.
Choose soft-touch or gloss films proven on dense solids; run a PQP on a representative format like a gloss-laminated magnetic box.
For giftable wellness and beauty sets, rigid or specialty folds can reduce stress and telegraph fewer substrate defects; review options via premium structures and cartons such as matte perfume folding carton and spot-UV rigs here.
Closing thoughts
Blistering is rarely one villain. It’s a conversation between moisture, energy, chemistry, and mechanics. Treat your next run like a controlled experiment: stabilize the environment, validate the surface, lock the adhesive window, and earn each step with a quick destructive test. The payoff is real—clean surfaces, sharp finishes, fewer claims, and a brand that looks as good in unboxing videos as it does in your CAD.